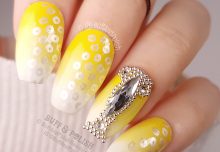
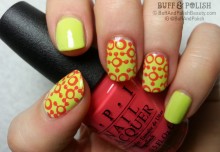
Thought I’d try something different that I never get to do because dry time! As we hit the second last day of the 2015 31 Day Challenge, we have Inspired by a Tutorial. I am doing Space Pond Nails. The original version of pond nails can be traced back to here and has been replicated many times since in various forms.
I considered doing Amy Pond Pond Nails (yes, that one’s for you Doctor Who nerds) but it was a bit too hard basket today. So I decided on Space Pond instead. I went above and beyond with the layers so the tips look quite chunky, but if I was going for dimension I wanted to really go for dimension. It’s harder to capture the layering effect with this camera and because I also used clear coats in between so the sparkle below wasn’t always completely washed out. But you don’t get as much of a colour gradation that as easily indicates a submerged layer. Enough chatter. 48 coats of polish layers later*, here are the nails:
And with a bottle shot…
Here’s a little close up so you can kind of see the layering a little better. I hope. Sorta, kinda haha.
I also considered doing a Pond Pond Nails as an excuse to use my new fish nail plate, but might wait until my nails have grown out a little and I have more time. If you would prefer to watch the technique in action, then give this video a watch. There are a bunch of demonstrations out there but this was one I found for the purposes of this post.
* I may or may not be embellishing that number.
SUPPLIES USED FOR THIS NAIL ART:
Polishes include:
- OPI – DS Lapis
- OPI – Sheer Tints
- Mundo de Unas – Iris
- Mundo de Unas – Blue
- Different Dimension – Drops of Jupiter
- Dollish Polish – Care Bear Stare
Check out other Challenge participants & comment below ❤
 Loading InLinkz ...


